Monday, March 28, 2022

Riley Blake Blog Tour - On The Wind - Box Kites Quilt

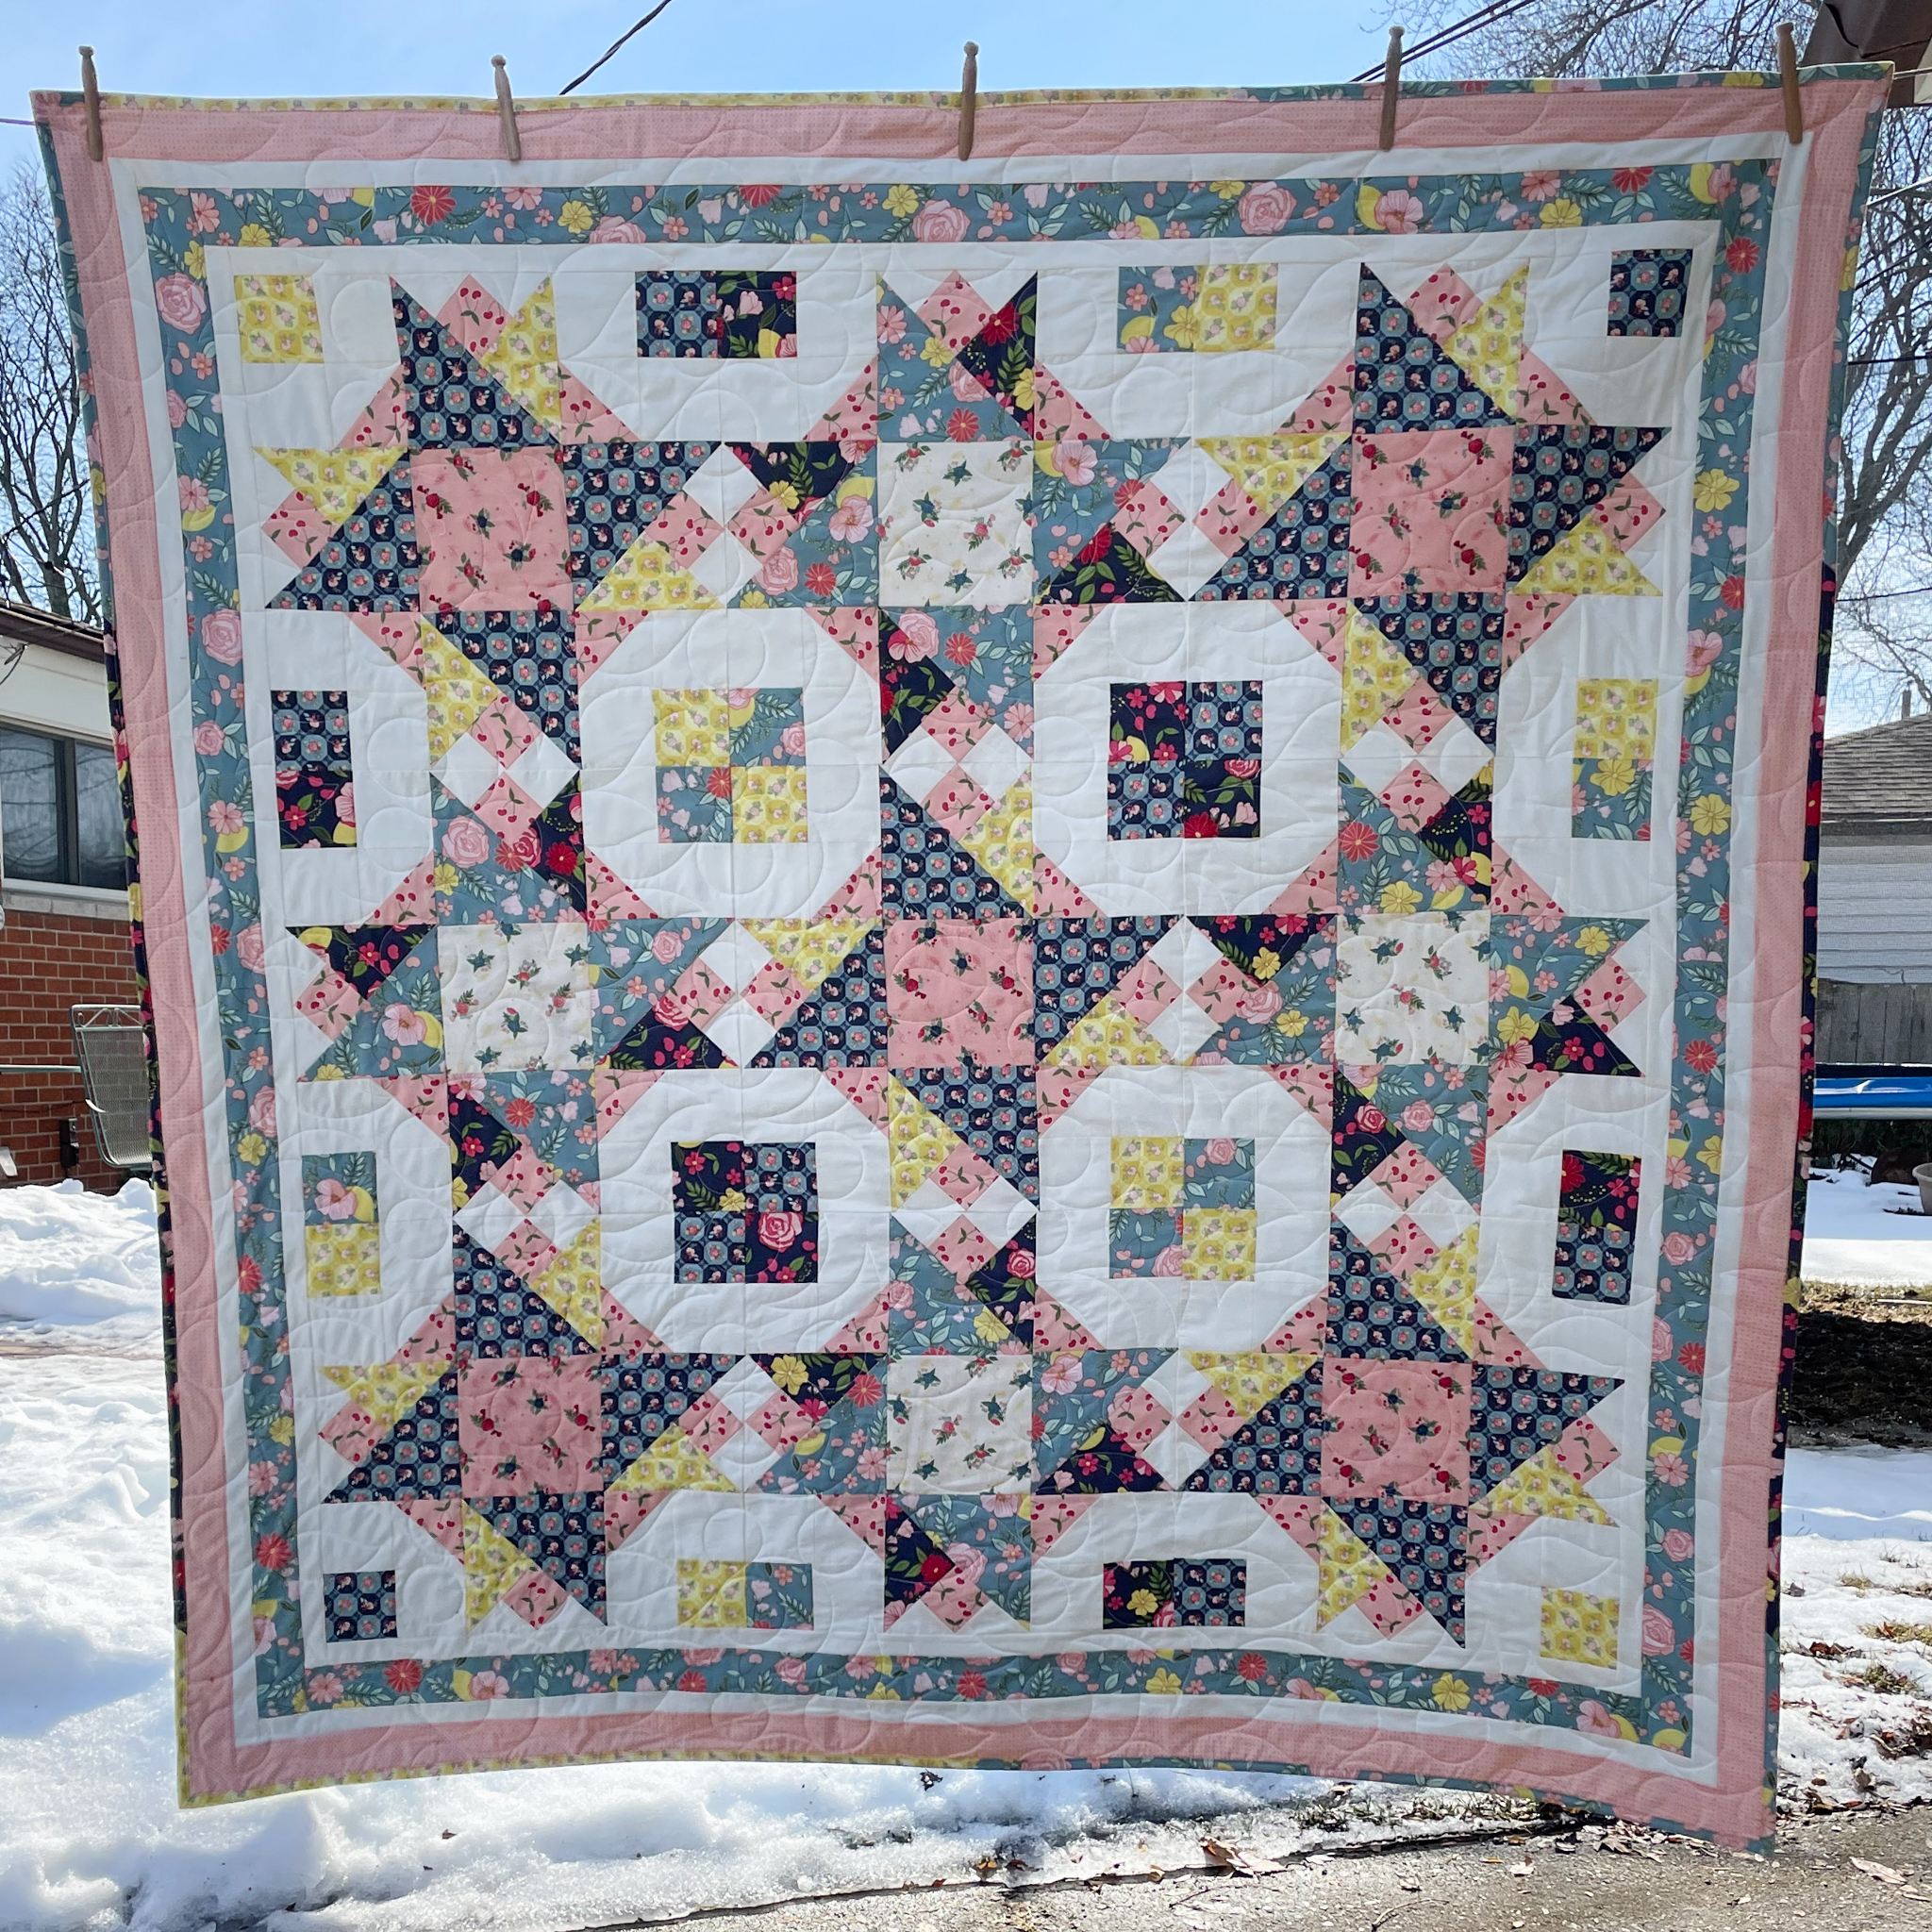
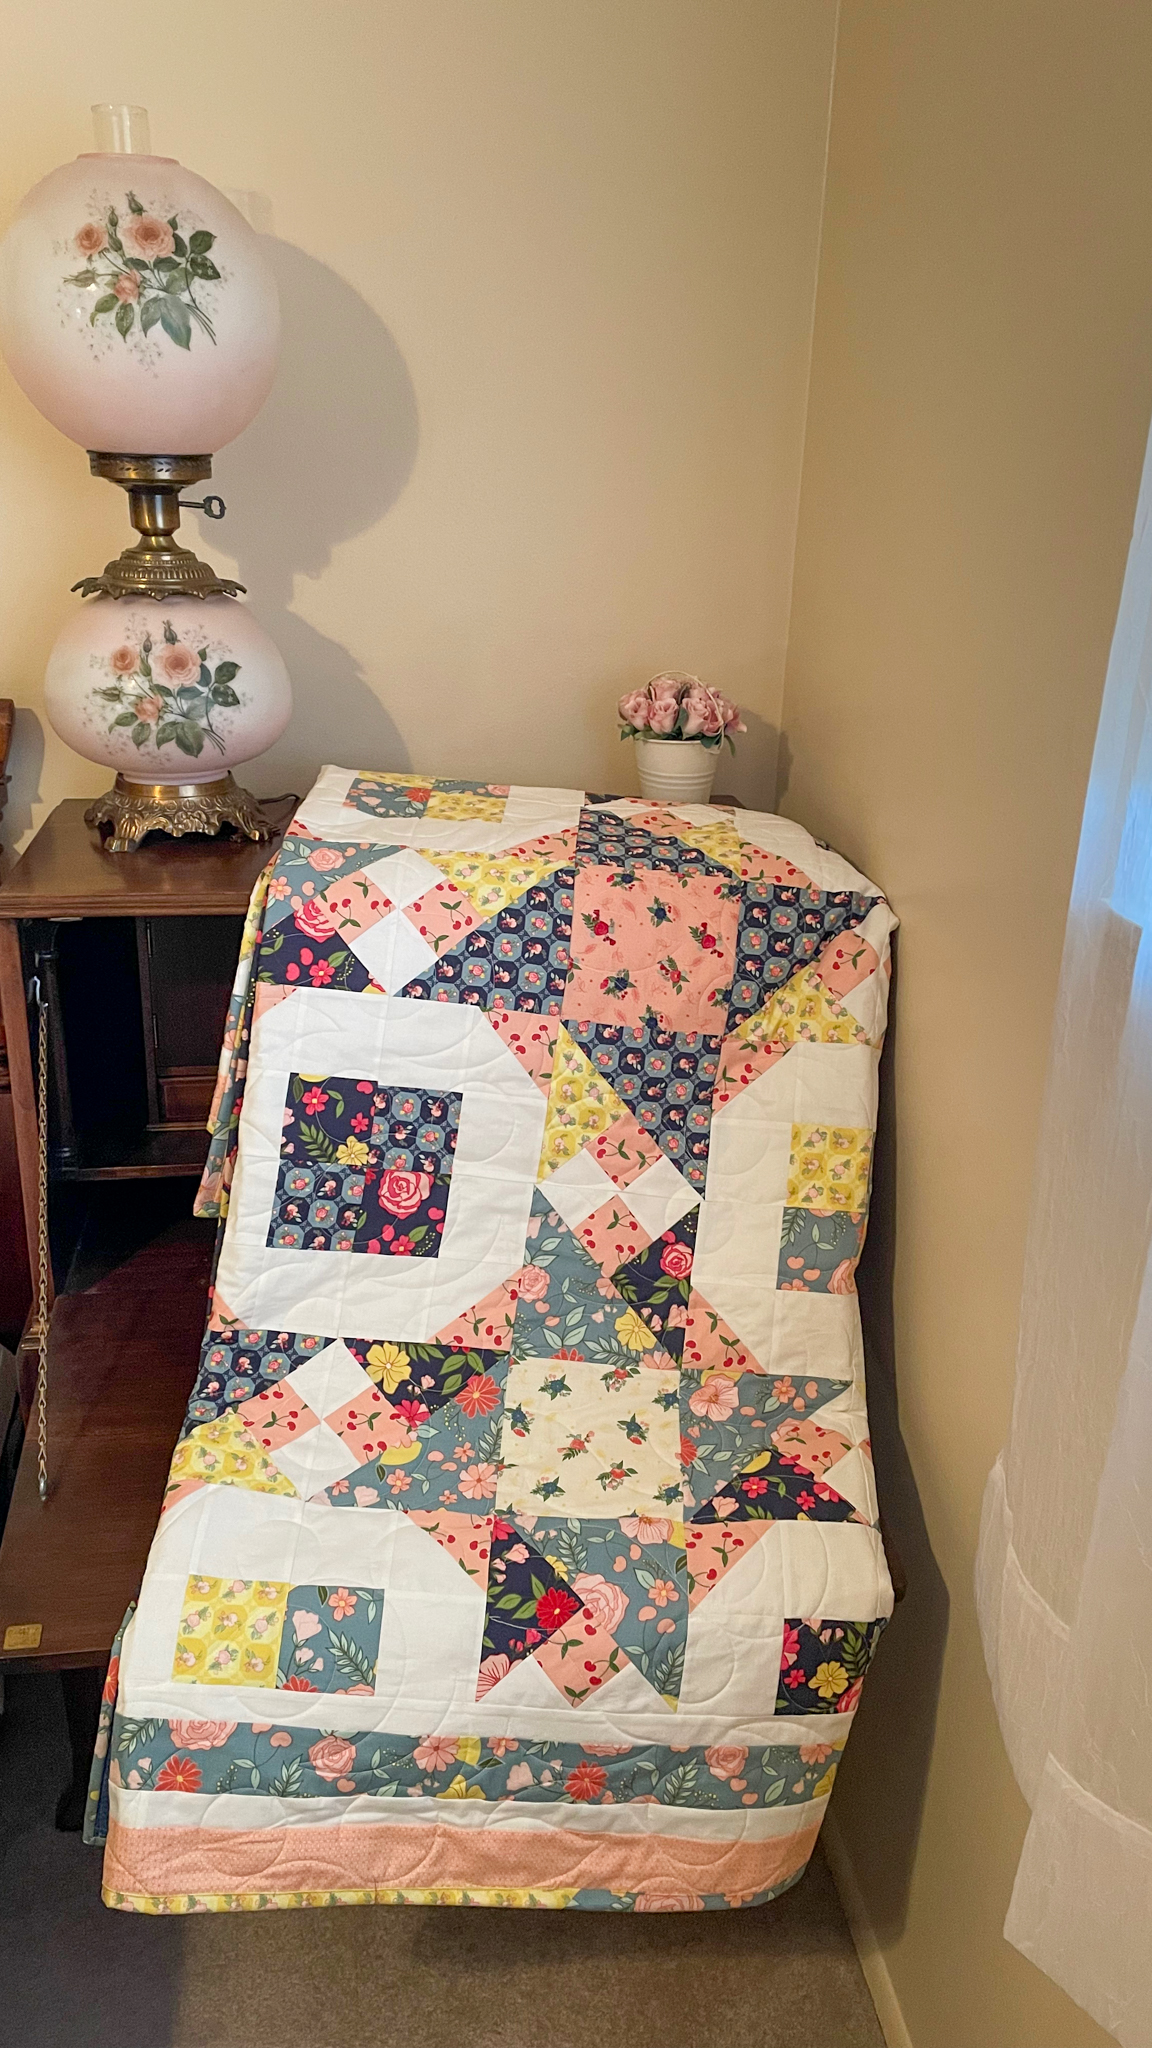
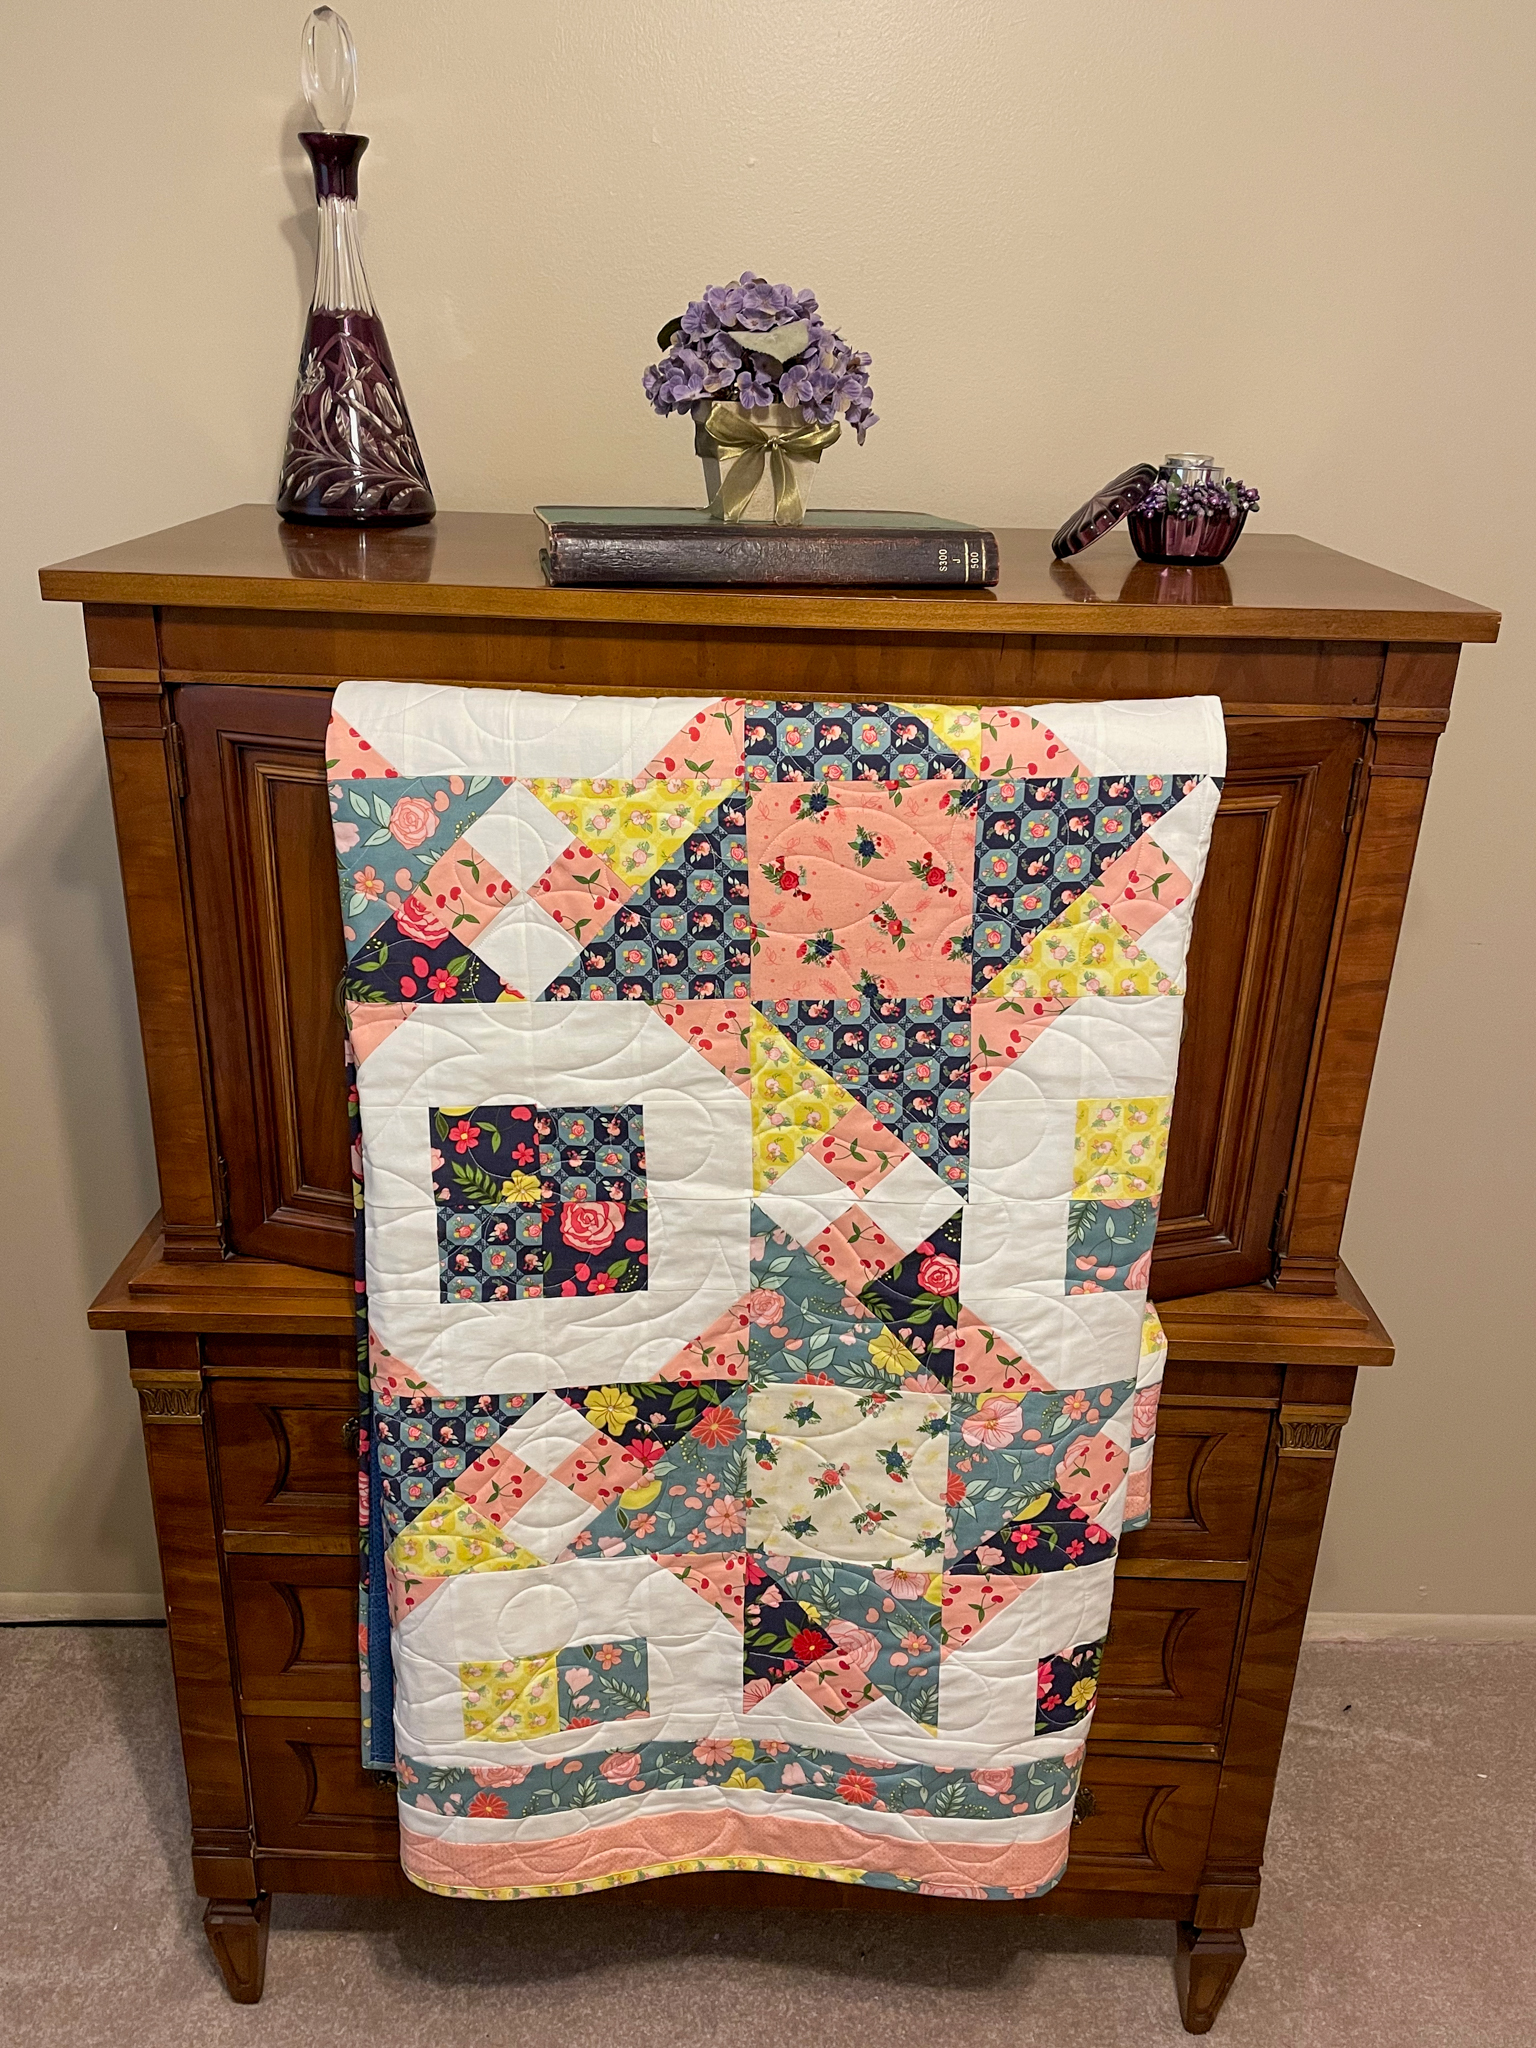
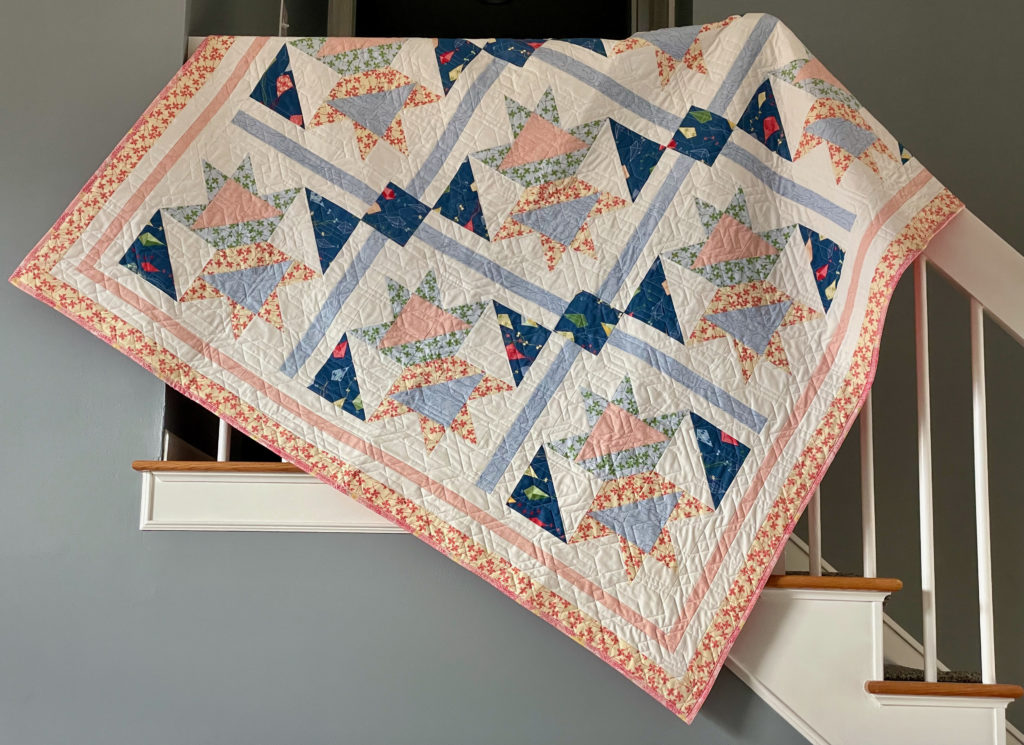
Hi Makers! It's Lisa Jo from Neverlandstitches, back again to share a new memory and quilt with you. March always makes me think of going with my dad to buy a kite at the toy store next to my grandfather's Pharmacy, assembling it and then flying it on our street. The trees were much smaller then as the neighborhood was new at the time. This memory was the inspiration for the quilt pattern, Box Kites, and  Jill Finley of Jillily Studio's new collection On The Wind is perfect for this quilt.

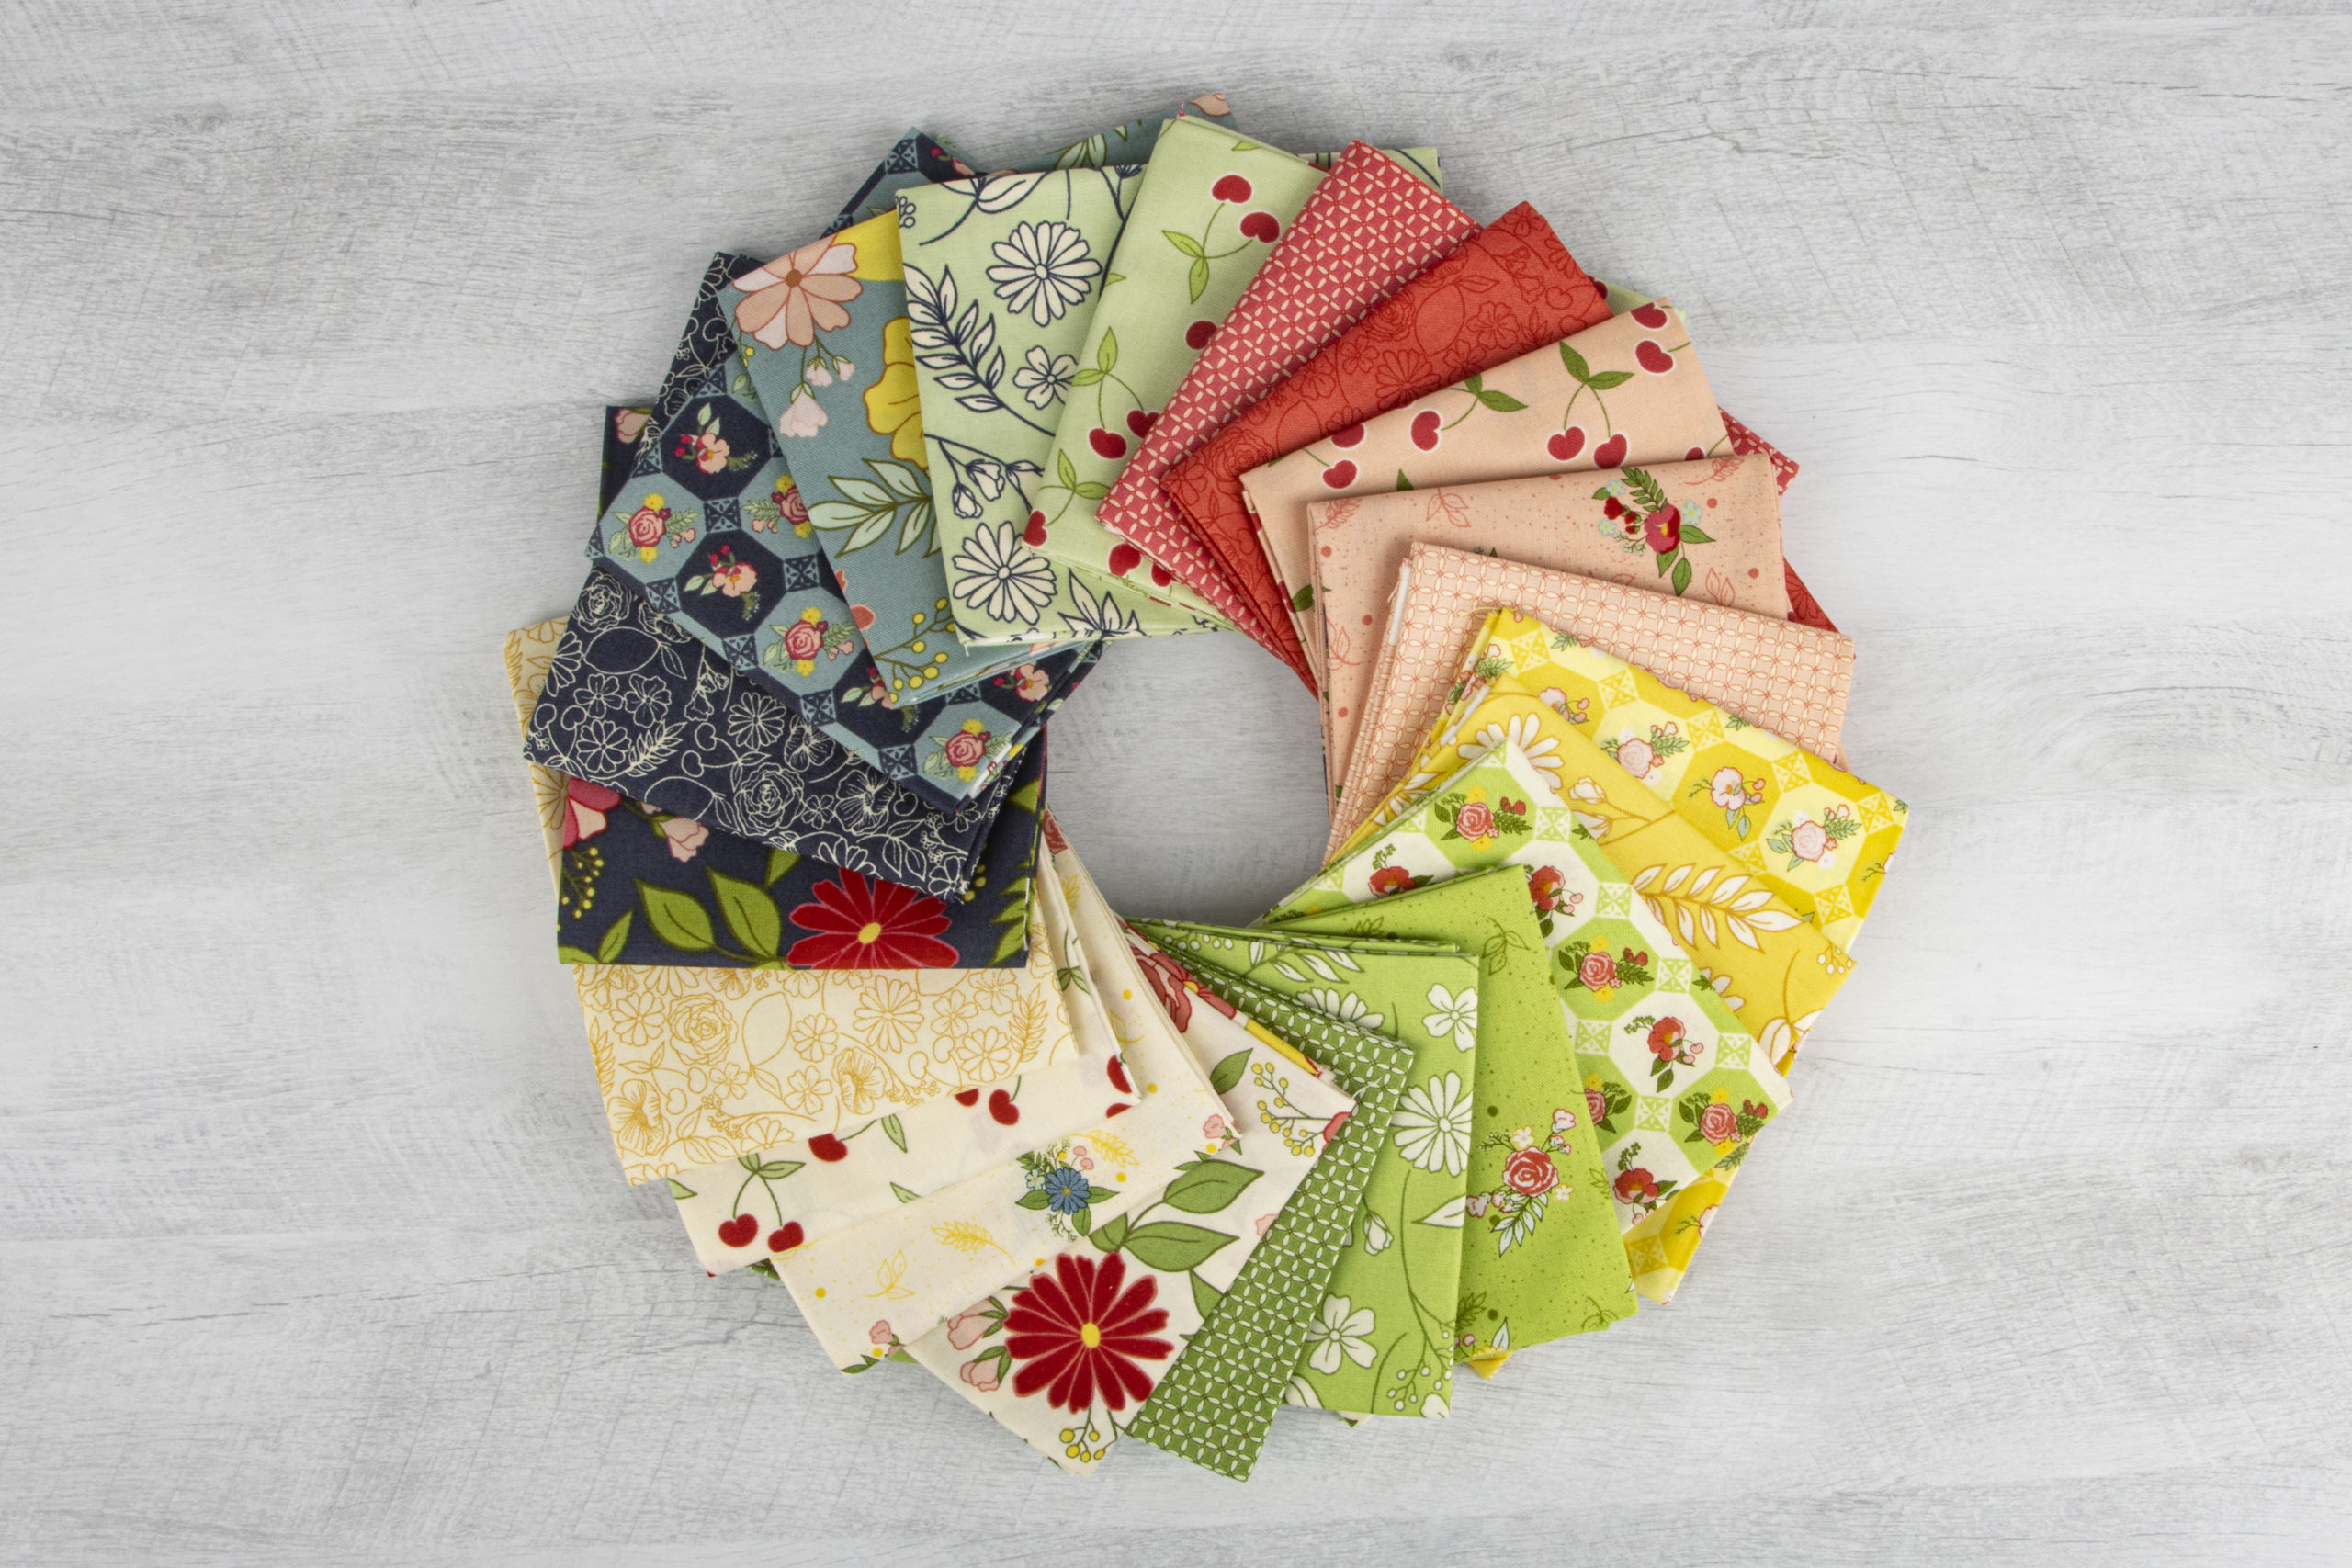
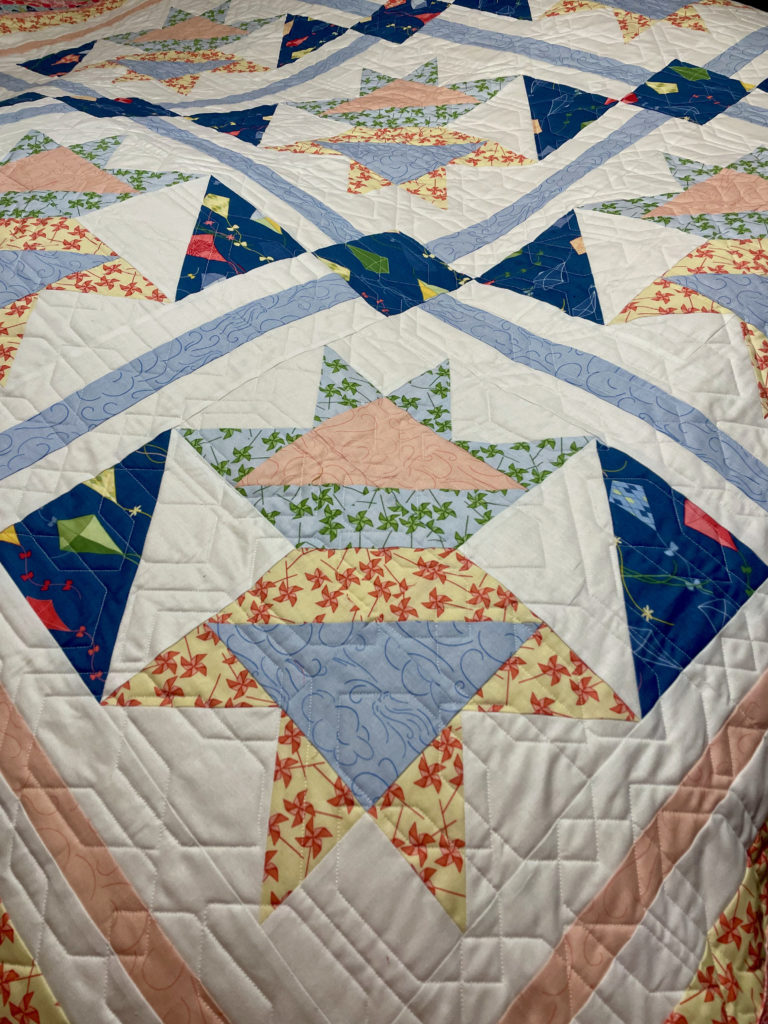
One the Wind features beautiful denims, greens, yellows, corals, blushes, and whites. The prints are kites, children playing, the wind blowing, dandelions, pinwheels, paper air planes, and argyle.

This image has an empty alt attribute; its file name is onthewind_lisjogirodat_boxkites2-1024x745.jpeg

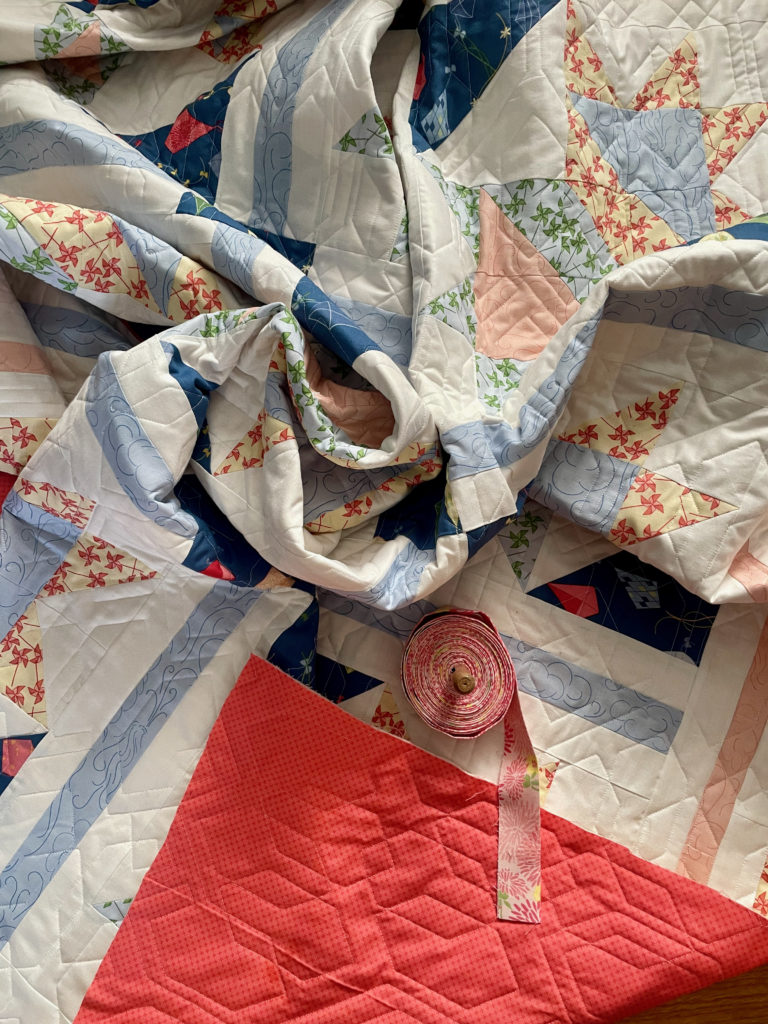
I decided that I would feature the wind, pinwheels, kites and dandelions for the binding. I absolutely adore how these fabrics look. It makes me want to take my grands to the store to get kites, but them together and then go to the neighborhood park and fly the kites.

Pre-machine binding being sewn on, here's a peak at the fun Bee's Crossstich fabric I selected to use to back the quilt. Also, a close up of the fun quilting, which almost looks like kites.

The pattern for Box Kites is available in my Etsy Shop, if you'd like to make a version for yourself or someone special in your life.

For more inspiration, follow me on instagram @neverlandstitches or my blog Neverlandstitches.

Until next time…I hope you always find something around you that inspires your creativity…

Lisa Jo


Monday, March 7, 2022

Reflections – Thistle Stars Remix

I'd like to share with you a remix of one of my favorite patterns, Thistle Stars. This quilt sitting in my garden along with the bitter cold temps and remaining snow is giving me a case of Spring Fever.


I am the type of maker that once I have made one pattern, I very rarely will ever remake that same pattern again as there are so many ideas in my artistic brain and only so much time.

When I saw Reflections by Lauren Brewer Designs, I knew that I needed to make a new version my Thistle Stars Quilt.

Just to make things interesting, I decided to mix it up by eliminating the sashing, adding 3 rounds of borders, and then binding the quilt with my favorite fabrics from the collection.

Eliminating the sashing creating a very interesting secondary block and I am a sucker for a quilt with a secondary block design.

The collection, Reflections, has beautiful floral prints in yellow, teal, parchment, pink, green, red, navy and seafoam. Along with the four floral prints, there is a darling clover leaf blender and a a sweet cherry print.

I had fun playing with the pinks, navy blues, teal, parchment and a dash of yellow.

I also thought that the florals and the pinks looked very pretty with these antiques.

For more inspiration, follow me on instagram @neverlandstitches or my blog Neverlandstitches.

Until next time…I hope you always find something around you that inspires creativity…

Lisa Jo 


Hopscotch & Freckles Zoey's Car Quilt - Free Pattern

 Poppie Cotton has a fun new collection available, Hopscotch & Freckles.  The collection is, bright, fun, and playful.  It has darling prints of little girls doing chores, pinwheels, strawberries, sweet words, and teeny tiny floral prints.  In addition there are the cutest stitching postcards prints.


I decided to use the collection to make a sweet quilt to wrap up my youngest grand daughter in as I carry her out of day care into my car as well as to snuggle her in the car seat.  


I used the stitching card as the centers for each of these very simple blocks.

Zoey's Car Quilt

Finished size: 34 x 38 inches
Finished block size 8.5 x 9.5 inches
Total blocks needed: 16

Materials: 
1 fat quarter of the Stitching Cards print from Hopscotch & Freckles
8 fat quarters of your favorite prints from Hopscotch & Freckles
1 fat quarter of secret words print from Hopscotch & Freckles for binding
1 1/2  yard for the backing

To make each block cut:

[1] 2" x 3" rectangle from the stitching cards

[2] 2" x 3" rectangles print 1

[2] 2" x 7" rectangles print 1

[2] 2" x 6" rectangles print 2

[2] 2" x 10" rectangles print 2

Block Assembly:

  1. Sew a 2" x 3" strip to left and right of the stitching card.  Press open.
  2. Sew a 2" x 7" strip to the top and bottom of the unit created in Step 1.  Press open. 
  3. Sew a 2" x 6" strip to the left and right of the unit created in Step 2. Press open.
  4. Sew a 2" x 10" strip to the top and bottom of the unit created in Step 3. Press open. 
  5. Unfinished blocks measure 9" x 10"

Repeat to make 16 blocks to make the size as show.  You may make more of less if you choose to make a larger or smaller quilt.

Assemble the quilt:
Sew block into 4 rows.
Sew the 4 rows together.


Sandwich your quilt top, batting and batting. Quilt and bind your quilt as desired.  Wash and then snuggle your little one. 
 
If you make this, please tag me on instagram so I may see your quilt.  @neverlandstitches

Hint: I used two layers of batting to make this extra warm for the little one. 

Until Next Time ... I hope you find something today to inspire your creativity...
Lisa Jo